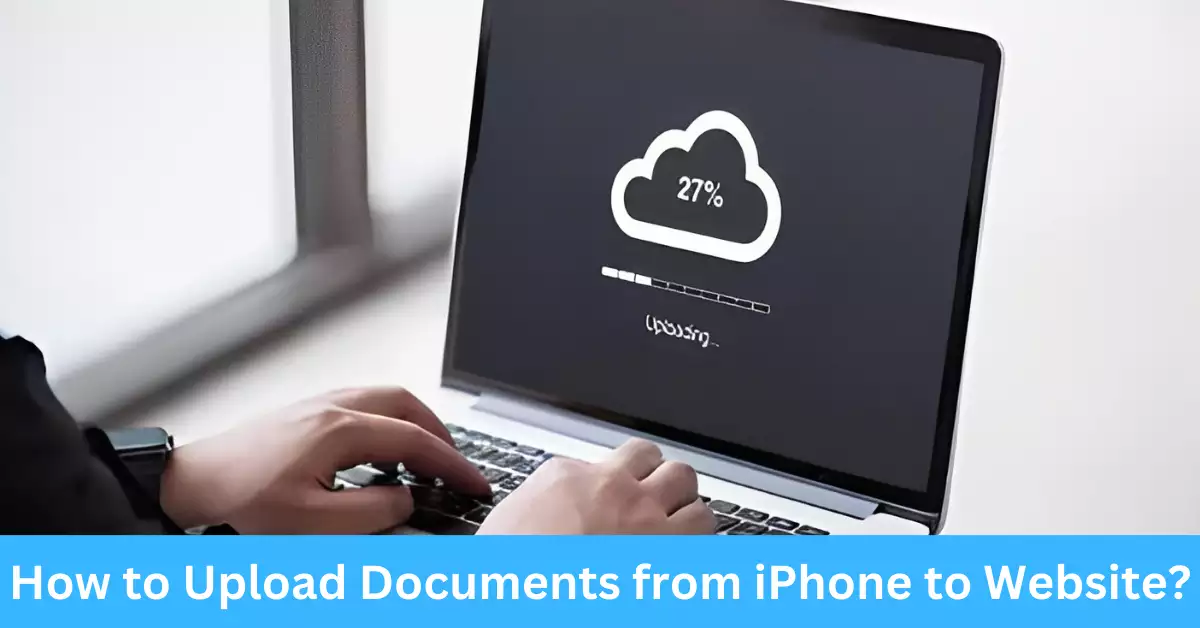
The ability to upload documents from your iPhone to a website has become an integral part of our digital lives. This capability is often used in various circumstances, such as submitting work assignments, sharing files with colleagues, or uploading documents to cloud storage sites. Despite its frequent use, the process can sometimes seem daunting for those unfamiliar with the necessary steps.
This article will demystify the process of uploading documents from an iPhone to a website. It entails locating the document on your iPhone, accessing the website for the upload, and finally, uploading the document. The information provided will make the process straightforward, even for those less technologically inclined.
I am confident that by the end of this piece, you’ll find the process simpler than you initially thought. With some practice, you’ll be able to upload documents quickly and with ease, thus making your digital interactions more efficient.
What Do You Need to Upload Documents from an iPhone to a Website?
An iPhone with an Internet Connection
First and foremost, you need an iPhone that is connected to the internet. The connection can be through Wi-Fi or mobile data. A reliable connection ensures the upload process is fast and efficient, thus reducing the chances of an unsuccessful upload.
Documents Ready for Upload
Ensure the document you intend to upload is saved on your iPhone. The document could be a Word document, PDF, image, or any other file type. You should be aware of the document’s location in your iPhone storage for easy access.
A Website that Supports Document Uploads
The website you want to upload the document to must support document uploads. Most websites will have an ‘upload’ button or a similar feature. If you’re unsure, consult the website’s help section or reach out to their support team.
Understanding Different File Types Supported by iPhone
The ability to handle various document types is a significant advantage of using an iPhone. In this context, a document isn’t limited to textual files; it may also include images, videos, audio files, among others. Let’s dive into some of the common file types that you can upload from your iPhone to a website.
Word Documents
Word documents, with .doc or .docx extensions, are one of the most common file types handled by iPhones. If you have the Microsoft Word app installed on your device, you can create, save, and upload these files directly. It’s worth noting that the Word app also allows you to convert these files to other formats like PDFs before uploading, should the need arise.
PDF Files
PDF (Portable Document Format) files are widely used for document sharing due to their compatibility with various platforms. iPhones natively support viewing PDF files, and with the help of apps like Adobe Acrobat Reader or Apple Books, you can also create, edit, and upload PDF files seamlessly.
Images
From photos taken using your iPhone’s camera to images saved from the internet or other apps, iPhones support a variety of image formats, including JPEG, PNG, GIF, TIFF, and more. The Photos app is the usual starting point for uploading images, but certain other apps may also hold your images, such as the Files app or third-party apps like Dropbox or Google Photos.
Other Document Types
iPhones also handle many other file types. For instance, you can upload text files (.txt), rich text format (.rtf), Excel spreadsheets (.xls, .xlsx), PowerPoint presentations (.ppt, .pptx), and even audio (.mp3, .wav) or video files (.mp4, .mov). Remember, the key is to have the appropriate app to handle the specific file type.
Step-by-Step Guide: How to Upload Documents from iPhone
Locating the Document on Your iPhone
First, identify where the document is stored on your iPhone. Common locations include the Files app, Photos app, or within specific apps like Word or Pages. Knowing where your document is saved will make the process smoother.
Accessing the Website for Upload
Next, open the website you wish to upload the document to. You can do this through a web browser like Safari, Chrome, or Firefox. Navigate to the document upload section on the website. This area typically has an ‘Upload’ button or paperclip icon.
Process of Uploading the Document
Now, tap the ‘Upload’ button or icon. A menu should pop up showing you various locations on your iPhone where you can select the document. Navigate to where you stored the document and select it. Once selected, the document should start uploading. Depending on the document size and your internet connection speed, this may take a few seconds to a few minutes.
Tips to Ensure Successful Document Upload
Ensure your internet connection is stable during the upload process to prevent any interruptions. It’s also advisable to keep the website open until the upload is complete. You should see a confirmation message once the document is successfully uploaded.
Common Problems and Solutions When Uploading Documents from iPhone
Like any other technology, you might face some issues when uploading documents from an iPhone. Here, I’ll mention a few common problems and their solutions to help you troubleshoot if the need arises.
Uploading Failures
If your document fails to upload, check your internet connection first. A weak or unstable connection is often the culprit. Switching to a different network or moving closer to your Wi-Fi router might help.
Document Format Not Supported
If the website states that your document format is not supported, you may need to convert it to a compatible format. There are several ways to do this. One option is to use a file conversion app or website that can convert your document to a supported format. Another option is to open the document in an app that supports the desired format, such as Word or Pages, and then save it in a different format before attempting the upload again.
Slow Upload Speeds
Slow upload speeds can be frustrating, especially when dealing with large files. If you’re experiencing slow upload speeds, try connecting to a faster internet connection, such as a Wi-Fi network with a strong signal. Additionally, closing any unnecessary apps running in the background and freeing up storage space on your iPhone can help improve upload speeds.
What to Do If Document Upload is Unsuccessful?
If your document upload is unsuccessful, don’t panic. First, double-check your internet connection and ensure that it is stable. If the problem persists, try restarting your iPhone and attempting the upload again. If the issue still persists, you can reach out to the website’s support team for assistance. They may be able to provide further guidance or troubleshoot the issue from their end.
While uploading documents directly to a website is a common method, there are alternative ways to share documents from your iPhone. Let’s explore a few options:
Via Email
One of the simplest and most commonly used methods is sending the document as an email attachment. You can compose an email, attach the document, and send it to the desired recipient. This method works well for smaller file sizes.
Using Cloud Services like iCloud, Google Drive, Dropbox, etc.
Cloud storage services like iCloud, Google Drive, Dropbox, and OneDrive offer seamless document sharing and collaboration options. You can upload your documents to these services from your iPhone and share them with others by generating shareable links or inviting collaborators.
Via Messaging Apps
Many messaging apps, such as WhatsApp, Telegram, or iMessage, allow file sharing directly from your iPhone. You can attach the document to a chat or conversation and send it to the intended recipient. This method is convenient for quick and informal document sharing.
Safety Measures While Uploading Documents Online
When uploading documents online, it’s essential to prioritize the safety and privacy of your files. Here are a few safety measures to consider:
Ensuring Document Privacy
Before uploading any document, make sure it doesn’t contain sensitive or confidential information that you wouldn’t want to be shared publicly. Review the document to remove any personal or sensitive data if necessary.
Safe Websites for Uploading Documents
When choosing a website for document upload, opt for trusted and reputable platforms. Look for secure websites that use encryption and have a good track record of protecting user data. Check for secure connection indicators like HTTPS in the website URL to ensure the transmission of your documents is encrypted.
Importance of Secure Internet Connections
To safeguard your documents during the upload process, it’s crucial to use a secure internet connection. Avoid using public Wi-Fi networks, as they can be vulnerable to security risks. Instead, use a trusted Wi-Fi network or consider using a virtual private network (VPN) to encrypt your internet connection.
Frequently Asked Questions
Can I upload documents from my iPhone to a website using Safari?
Yes, you can upload documents from your iPhone to a website using Safari. Simply open Safari, navigate to the website’s document upload section, and follow the steps outlined in the article.
Are there any file size limitations when uploading documents from an iPhone?
Some websites may impose file size limitations when uploading documents. It’s advisable to check the website’s guidelines or restrictions before attempting to upload large files. If your file exceeds the limit, you may need to compress it or use alternative methods, such as cloud storage or email, to share the document.
Can I edit documents after uploading them from my iPhone to a website?
Editing documents after uploading them to a website depends on the specific features and capabilities of the website. Some websites offer in-browser document editors, while others may require you to download the document, make edits locally, and re-upload the updated version.
Conclusion
In conclusion, uploading documents from your iPhone to a website is a convenient and straightforward process.
By following the step-by-step guide provided in this article, you can confidently upload various document types, including Word documents, PDFs, images, and more.
Additionally, we explored alternative methods such as email, cloud services, and messaging apps for document sharing.
Remember to prioritize document safety by using secure internet connections, choosing reputable websites, and being cautious about sensitive information. With this knowledge, you can navigate the process of uploading documents from your iPhone with ease, streamlining your digital interactions and enhancing your productivity.