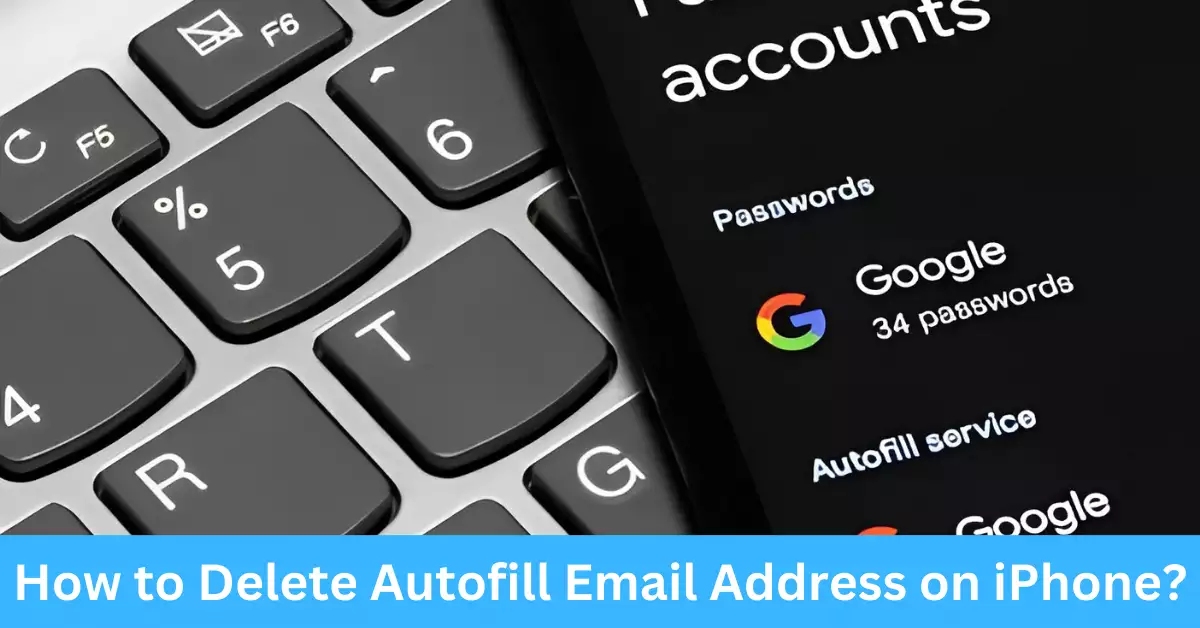
Modern smartphones offer a multitude of features designed to make our lives easier, and the iPhone is no exception. One such feature is Autofill, which can be a real-time-saver, storing and suggesting information like email addresses, credit card information, and personal addresses when you’re typing into web forms. However, it can become frustrating when outdated or incorrect information keeps popping up.
While Autofill on your iPhone serves to speed up your activities, outdated email addresses, or those filled in by mistake, can disrupt the convenience it’s supposed to provide. They could potentially lead to security concerns or mistaken message recipients. Therefore, it becomes essential to know how to delete these Autofill email addresses and update your information accurately.
We’re here to make your iPhone usage seamless. Dive with us into this comprehensive guide to effectively manage your Autofill information, protect your privacy, and ensure you’re sending information to the correct email address. We’ll walk you through every step, and by the end, you’ll be an expert in managing your Autofill settings.
What is Autofill on iPhone?
Autofill on iPhone is a feature designed to save time and prevent typos when you’re filling out online forms. It stores the information you often input, such as passwords, addresses, and especially email addresses, and suggests them when you’re typing into similar fields.
Why Would You Want to Delete Autofill Email Addresses?
While the Autofill feature is convenient, there can be several reasons for wanting to delete autofill email addresses. Let’s explore the primary reasons in detail.
Privacy Concerns
In our digital age, privacy is a significant concern. Your email addresses, in particular, hold a wealth of sensitive information, from personal correspondences to financial details. Therefore, it’s crucial to keep them secure. Autofill can sometimes compromise this security, especially if your iPhone falls into the wrong hands. By learning how to manage and delete autofill email addresses, you’re adding an extra layer of security to your personal information.
Cleaning Up Outdated Information
Over time, it’s natural to accumulate a plethora of email addresses in your autofill, especially if you frequently sign up for online services or change jobs. However, having these outdated email addresses popping up each time you use Autofill can be a nuisance. It not only slows down your efficiency but can also lead to you choosing an old, less-used email address accidentally. By deleting these outdated entries, you streamline your Autofill suggestions, ensuring you’re always using the most relevant and current email addresses.
Correcting Mistakes
Let’s admit it, we’ve all typed in an email address wrong at some point. But when Autofill keeps suggesting this incorrect email address, it becomes a hindrance. You might accidentally select the wrong email address, leading to potential communication errors. Deleting incorrect email addresses from your Autofill can prevent this and ensure you’re always sending information to the right address.
How Does iPhone Store Autofill Email Addresses?
Understanding how Autofill works can help you manage your email addresses better. Let’s take a closer look at this process.
Data Storage Process
Your iPhone cleverly uses the information you frequently input on online forms, emails, or apps, and stores them in Autofill. Each time you fill in an email address, the iPhone remembers it. Then, the next time you’re typing something similar, Autofill suggests this email address, helping you save time and prevent typos.
Relationship with Apple ID and Contact List
The Autofill feature on your iPhone is closely linked with your Apple ID and Contacts app. Any email addresses associated with your Apple ID, and those stored in your contacts, will often appear in Autofill suggestions. Understanding this link can help you effectively manage your Autofill email addresses.
Step-by-Step Guide: How to Delete Autofill Email Address on iPhone?
The process of deleting an Autofill email address on your iPhone is simple. Here’s a detailed guide to help you.
Accessing Settings
Open the ‘Settings’ app on your iPhone. This app usually has a grey background with a gear icon.
Locating Autofill Information
Scroll down and tap on ‘Safari’, the iPhone’s default browser. Then, go to ‘Autofill’, where you’ll find a list of email addresses that your iPhone suggests when you’re filling out forms online.
Deleting Individual Autofill Email Addresses
To delete a specific email address, tap the ‘Edit’ button in the top right corner, then tap the red minus sign next to the email address you want to remove. Confirm the deletion by tapping ‘Delete’.
Clearing All Autofill Data
If you prefer to start fresh and remove all email addresses stored in Autofill, you have the option to clear all the data. To do this, go to the ‘Autofill’ settings in Safari as mentioned earlier. Scroll to the bottom and tap on ‘Clear All’ under the ‘Saved Autofill Information’ section. Confirm the action when prompted, and all email addresses will be removed from your Autofill.
Turning off iCloud Keychain
If you’re using iCloud Keychain to sync your Autofill data across multiple devices, disabling it will also clear your Autofill email addresses. Keep in mind that this action will remove all other Autofill information, such as passwords and credit card details, as well. To turn off iCloud Keychain, go to ‘Settings’, tap on your name at the top, then ‘iCloud’, and finally toggle off ‘Keychain’.
By following these steps, you can effectively delete unwanted email addresses from your iPhone’s Autofill and ensure that only the correct and relevant addresses are suggested when you’re filling out forms or sending emails.
How to Turn off Autofill on iPhone?
While Autofill can be a useful feature, there might be instances where you prefer to turn it off entirely. Here’s how you can do it:
Opening Settings
Launch the ‘Settings’ app on your iPhone.
Scroll down and tap on ‘Safari’.
Accessing Autofill Settings
Within the Safari settings, locate and tap on ‘Autofill’.
Disabling Autofill
To turn off Autofill, simply toggle off the switch next to ‘Use Contact Info’ and ‘Names and Passwords’. This will disable Autofill for both contact information and passwords.
By following these steps, you can choose to disable the Autofill feature entirely, if desired. Keep in mind that turning off Autofill may require you to manually input your information every time you fill out online forms, which can be time-consuming.
How to Add or Update Autofill Information on iPhone?
While deleting unwanted email addresses is essential, you might also need to add or update your Autofill information. Here’s how you can do it:
Accessing Settings
Open the ‘Settings’ app on your iPhone.
Scroll down and tap on ‘Safari’.
Accessing Autofill Settings
Within the Safari settings, locate and tap on ‘Autofill’.
Adding a New Email Address
To add a new email address to your Autofill, tap on ‘Saved Credit Cards’. From there, tap on ‘Add Credit Card’ and enter the required information, including the email address. Make sure to save the changes.
Updating Existing Autofill Information
To update an existing email address or any other Autofill information, tap on ‘Edit’ next to the corresponding category, such as ‘Names and Passwords’. Make the necessary changes, such as correcting an email address, and save the updated information.
By following these steps, you can easily add or update your Autofill email addresses, ensuring that accurate and up-to-date information is stored and suggested by your iPhone.
Common Troubleshooting Tips for Autofill on iPhone
Even with the best intentions, you might encounter some issues or difficulties with Autofill on your iPhone. Here are some common troubleshooting tips to help you overcome these challenges:
Clear Cache and Website Data
Sometimes, outdated cache and website data can interfere with Autofill suggestions. Clearing these data can help resolve the issue. To do this, go to ‘Settings’, tap on ‘Safari’, then ‘Clear History and Website Data’. Confirm the action and try using Autofill again.
Restart your iPhone
A simple restart can often resolve minor software glitches that may be affecting Autofill. Hold down the power button until the ‘slide to power off’ slider appears, then slide it to turn off your iPhone. After a few seconds, press the power button again to turn it back on.
Update iOS
Keeping your iPhone’s operating system up to date is crucial for optimal performance. Check for any available iOS updates by going to ‘Settings’, then ‘General’, and ‘Software Update’. If an update is available, follow the on-screen instructions to install it. Updating iOS can often resolve any bugs or compatibility issues with Autofill.
By following these troubleshooting tips, you can address common issues and ensure that your Autofill feature works smoothly on your iPhone.
Benefits and Drawbacks of Using Autofill on iPhone
Autofill on iPhone offers numerous benefits but also comes with certain drawbacks. Understanding these can help you make an informed decision about utilizing the feature.
Benefits of Autofill
Autofill offers the following advantages:
- Time-saving: By automatically filling in your email addresses, Autofill streamlines the process of completing online forms and sending emails.
- Reduced errors: Autofill helps prevent typos and mistakes when entering email addresses, resulting in more accurate and reliable communication.
- Convenience: With Autofill, you don’t have to remember or manually enter your email addresses each time, making your digital interactions more convenient.
Drawbacks of Autofill
However, it’s important to consider the following drawbacks of Autofill:
- Privacy concerns: Storing personal information like email addresses in Autofill could potentially pose a privacy risk, especially if your iPhone is lost, stolen, or accessed by unauthorized individuals.
- Outdated information: Autofill relies on stored data, which means outdated or incorrect email addresses might continue to appear as suggestions.
- Potential for mistakes: While Autofill is designed to be helpful, it may occasionally suggest an incorrect email address, leading to accidental miscommunication.
Considering both the benefits and drawbacks of Autofill will allow you to make an informed decision about whether to use the feature and how to manage your email addresses effectively.
Frequently Asked Question
Here are answers to some frequently asked questions about deleting autofill email addresses on iPhones:
Can I delete all autofill emails at once?
Yes, you can delete all autofill email addresses at once. In the Autofill settings in Safari, scroll to the bottom and tap on ‘Clear All’ under ‘Saved Autofill Information’. Confirm the action, and all email addresses will be removed from your Autofill.
Why can’t I remove some autofill email addresses?
Some autofill email addresses might be associated with your Apple ID or saved in your contacts. To remove these addresses, you’ll need to edit or delete them in the respective apps. Additionally, iCloud Keychain sync might be enabled, which can prevent the immediate removal of certain email addresses. Disable iCloud Keychain in the Settings app to clear all autofill data.
Can I still use autofill without saving email addresses?
Yes, you can use autofill without saving email addresses. By turning off the ‘Use Contact Info’ and ‘Names and Passwords’ options in the Autofill settings, your iPhone won’t suggest email addresses, but other autofill information like names and passwords can still be utilized.
Conclusion
Managing and deleting autofill email addresses on your iPhone is crucial for maintaining accuracy, privacy, and efficiency.
By following the step-by-step guide and utilizing the tips provided in this comprehensive article, you can easily delete unwanted email addresses, update information, and optimize your autofill settings according to your preferences. Remember to prioritize privacy and security while enjoying the convenience offered by this feature.
Your iPhone is a powerful tool, and with the knowledge gained from this guide, you can harness the full potential of Autofill, ensuring smooth and hassle-free digital interactions.